I’ve been playing with my rice cooker again! This time I took this classic fall comfort food, scaled it down and scaled it back to make it as easy as possible, and cooked it up in my convenient little rice cooker. This small batch Rice Cooker Chili is perfect for cooking in an RV, hotel room, community dorm kitchen, or other small spaces. It makes just enough to feed a few people, requires no chopping, and has all the warm comfort of the big stove top batches!
Do I need a rice cooker to make this recipe?
Nope! This is just a scaled down version of my Basic Chili recipe, which cooks on the stove top. If you want to make this small batch version on the stove top, it can be made in a small stock pot. Simply sauté the beef over medium, then simmer the chili over medium-low once the rest of the ingredients are added. You can also make this Rice Cooker Chili with an Instant Pot, using a sauté function for the first browning steps, then the chili function once the rest of the ingredients are added.
Check out my other Rice Cooker Recipes: Rice Cooker Teriyaki Shrimp and Rice, Rice Cooker Mac and Cheese, Rice Cooker Spanish Chickpeas and Rice.
Rice Cooker Chili

RICE COOKER ADAPTATIONS…
As mentioned above, this Rice Cooker Chili is just a scaled down version of my Basic Chili recipe. The rice cooker I use is an 8 quart capacity, so I had to reduce the original chili recipe by about half. In addition to reducing the volume, I also substituted the fresh onion and garlic with more of the powdered versions, to eliminate the need for any chopping, making this recipe as easy as possible. While I only used one can of beans for the recipe listed below, I think it could easily handle a second can (maybe black beans) to stretch out your dollar even further!
WHAT RICE COOKER AM I USING?
I chose to work with one of the most popular and most basic rice cookers on the market to make sure the rice cooker recipes I develop have the broadest compatibility. That being said, every model rice cooker is slightly different, and may yield slightly different results, so you may have to tweak the recipe to work with your equipment. I’m using the Aroma Housewares 8 cup cooked/4 cup uncooked Digital Rice Cooker. (As an Amazon Associate I earn from qualifying purchases.)
Rice Cooker Chili

This small batch, scaled back, and super easy Rice Cooker Chili still delivers huge flavor. Perfect for dorm living, RV’s, and hotel cooking!
- 1 Tbsp olive oil ($0.16)
- 1/2 lb. ground beef ($2.65)
- 1/2 Tbsp chili powder* ($0.15)
- 1/2 tsp cumin* ($0.05)
- 1/8 tsp cayenne pepper* ($0.02)
- 1/4 tsp garlic powder* ($0.02)
- 1/2 tsp onion powder* ($0.02)
- 1 tsp brown sugar* ($0.01)
- 1/2 tsp salt* ($0.02)
- freshly cracked pepper*
- 1 15oz. can diced tomatoes ($0.45)
- 1/2 6oz. can tomato paste ($0.20)
- 1 15oz. can kidney beans ($0.49)
- 3/4 cup water ($0.00)
-
Add the olive oil and ground beef to the rice cooker. Close the lid and select the “white rice” or “cook” function, depending on the functions available on your cooker. Allow the beef to cook with the lid closed, opening it briefly to stir and break up the meat every couple of minutes, until the beef is fully browned (about 5 minutes total). Many rice cookers, including the model I used, do not heat unless the lid is closed, so remember to close it after each stir.
-
If you are using a higher fat content beef, drain the excess fat once it has fully browned. Add the chili powder, cumin, cayenne, garlic powder, onion powder, brown sugar, salt, and pepper to the ground beef in the rice cooker, stir to combine, then close the lid and cook for one minute more.
-
Drain the can of kidney beans and add them to the rice cooker along with the diced tomatoes (and their juices), tomato paste, and water. Stir until everything is evenly combined.
-
Close the lid once more, make sure “white rice” or “cook” is selected, then let the chili simmer for 30 minutes. Stir the chili occasionally to make sure it is not sticking on the bottom. If your cooker finishes the cook cycle before 30 minutes is up, simply begin it again.
-
After simmering for 30 minutes, taste the chili, adjust the seasoning if desired, then serve with your favorite chili toppings.
*Half of a store-bought chili seasoning packet can be used in place of the individual spices.

Step by Step Photos

Begin by adding 1 Tbsp olive oil and 1/2 lb. ground beef to your rice cooker.
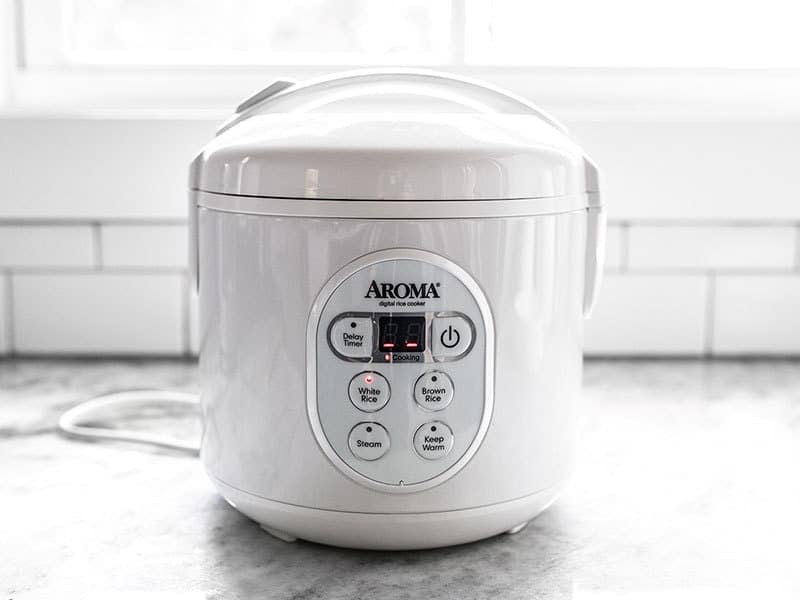
Close the lid on the rice cooker and select the “white rice” or “cook” function. Closing the lid allows the rice cooker to begin heating, so make sure it is closed. Stir and break up the beef every couple of minutes as it cooks, remembering to close it again after stirring, until it is fully browned (about 5 minutes).
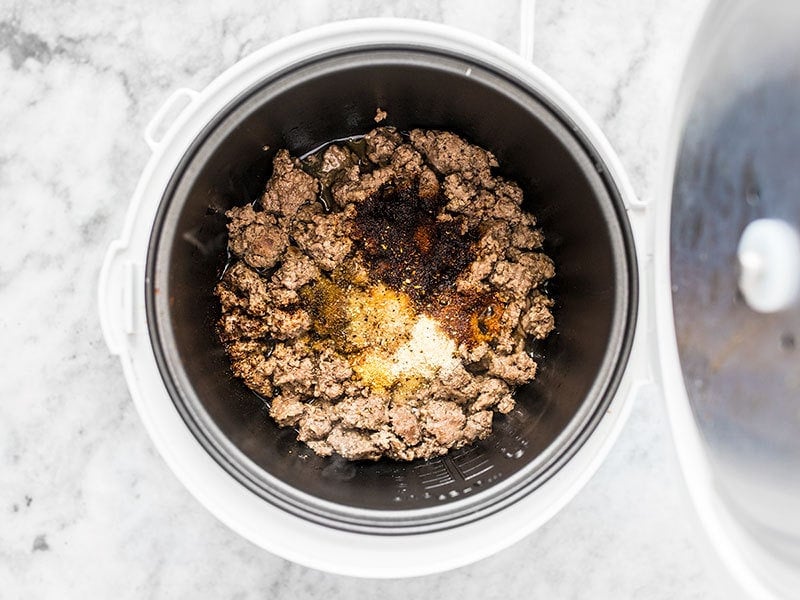
If you’re using a higher fat content beef, drain off the excess fat once it is browned. Add 1/2 Tbsp chili power, 1/2 tsp cumin, 1/8 tsp cayenne pepper, 1/4 tsp garlic powder, 1/2 tsp onion powder, 1 tsp brown sugar, 1/2 tsp salt, and some freshly cracked pepper to the ground beef (or 1/2 of a store-bought chili seasoning packet). Stir to combine the beef with the spices, close the lid, and let it cook for one minute more.
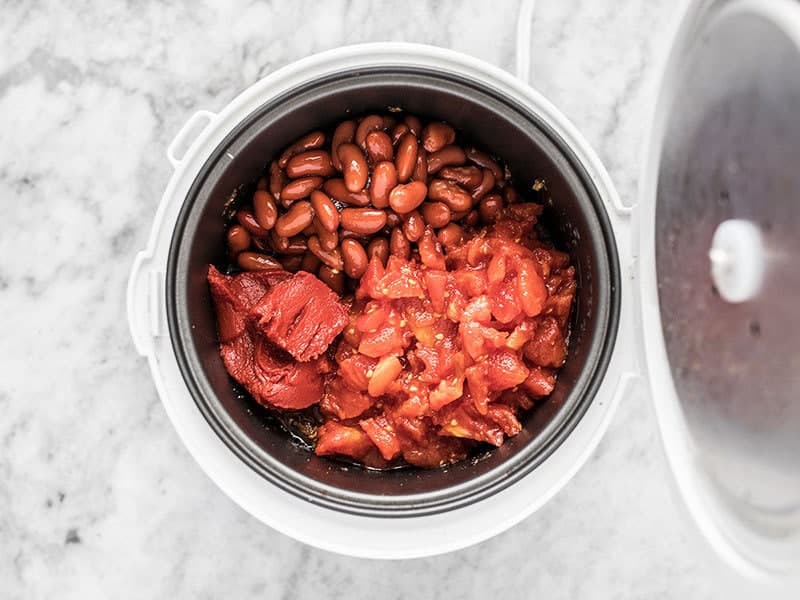
Drain one 15oz. can of kidney beans (or two cans of beans, if you prefer) and add them to the rice cooker along with one 15oz. can of diced tomatoes (with juices) and half of a 6oz. can of tomato paste. Don’t forget, you can freeze the rest of your tomato paste for another recipe later!
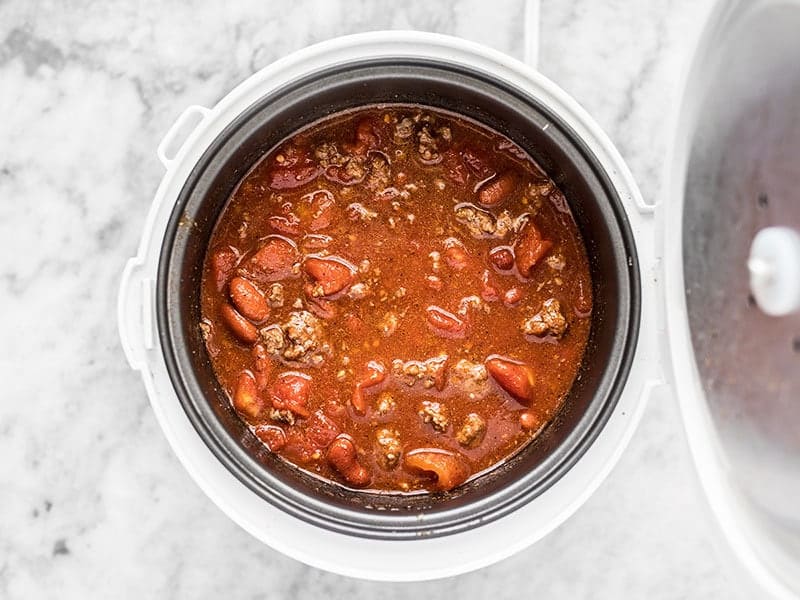
Finally, add 3/4 cup water to the rice cooker and stir everything to combine. Close the lid, select the “white rice” or “cook” function again, and allow the chili to simmer for 30 minutes, stirring occasionally to make sure it’s not sticking to the bottom. If the timed cook function ends before the chili has simmered for 30 minutes, simply begin it again (mine never even began to count down, it just continued heating the entire time).
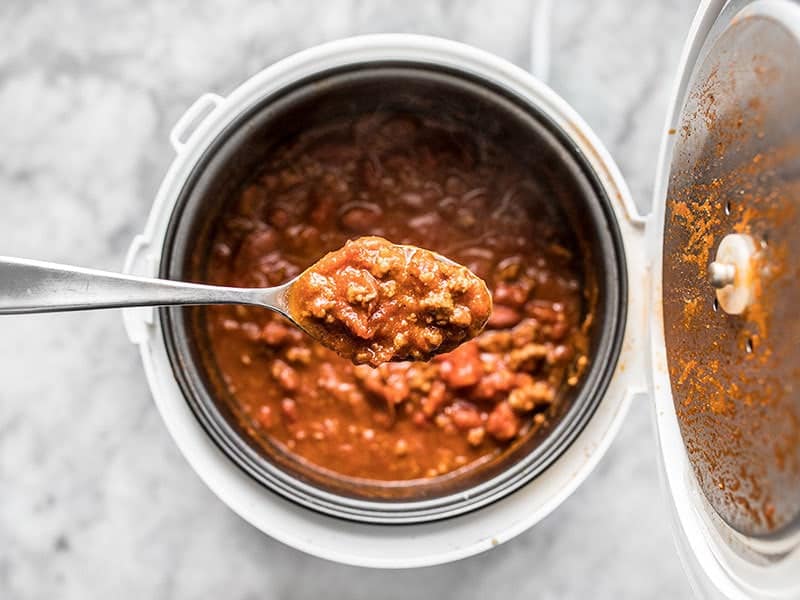
After simmering 30 minutes, taste the chili, adjust the seasonings if needed, then serve!

Don’t forget to add your favorite toppings to your Rice Cooker Chili!
The post Rice Cooker Chili appeared first on Budget Bytes.
from Budget Bytes https://ift.tt/2yQidIN
via MY FOOD MARKET


No comments:
Post a Comment